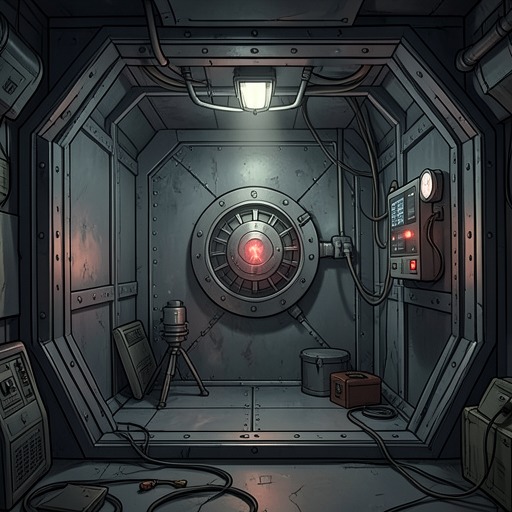
Safe hidden behind the painting
Panic RoomThe Safe hidden behind the painting is both a repository for a concealed control and the physical link between Jack Harkness’s past and the sealed panic room at Wortalleth West. Hidden behind Peter Lanyon’s painting Far West, it can be opened with the date of Jory Fry’s death; inside, a red fuse-switch controls access to the panic-room door. Its discovery turns a hidden feature of the house into a test of what Don Challenor will do with knowledge Jack gives him at the end of his life.
Position and Construction
Jack tells Don that a safe lies behind Far West on the drawing-room wall. When Don later leads Amos French and Zlenko to it, the painting hangs in the lounge. Don lifts it from its hook and props it against the wall, exposing a grey steel safe about two feet square. Its countersunk handle and dial, marked with numbers from zero to one hundred, make the hiding place look like a conventional mechanical device rather than an overt part of the panic room.
The painting conceals the safe without disguising its function once uncovered. Before opening it, Don looks at the painting’s blue and green blocks and recalls Jack’s account of gliding above the Cornish coast, a reference that briefly lends the concealed mechanism an image of escape. The contrast is pointed: the picture suggests open air and a possible flight, while the safe offers no way out of Don’s immediate predicament. It is a hidden object whose ordinary appearance and precise operation conceal the extraordinary stakes attached to it.
Combination and Contents
Jack identifies the safe as old-fashioned and mechanical, operated by a combination of three numbers. The numbers are not an arbitrary code: they refer to the date he killed Jory Fry, 1 August 1970. A family crime is thus made into the key to a household secret. The combination preserves Jack’s knowledge in a form that can be passed on, but it also binds the panic room’s access to a specific act from the past.
Don has a practical memory that makes the mechanism usable. At his first estate agency, his boss had an old Chubb safe, and Don remembers the combination he had coaxed from the boss’s secretary over several gin and tonics. This experience does not supply Jack’s numbers, but it gives Don familiarity with the kind of lock he must operate. When Amos French demands that he open the safe, Don turns the dial one four times anticlockwise, eight three times clockwise, and seventy twice anticlockwise, then eases it clockwise. A click confirms that the lock has released.
Inside are a few documents and the control Don has been seeking: a red fuse-switch set into a plastic frame in the rear wall. It is down, in the off position. Jack has explained that throwing the switch opens the panic-room door, so the safe is not merely a hiding place for papers; it houses the control by which the room’s sealed state can be changed. The sequence from concealed painting to combination to switch makes access depend on both physical clues and the knowledge Jack has entrusted to Don.
Don’s Discovery Under Pressure
The safe becomes the focus of a confrontation because French wants the panic room opened immediately. Don first refuses, then agrees to lead French and Zlenko to the lounge. His compliance is a bluff: he intends to run for the front door after throwing the switch, gambling that the two men will be distracted by what they find inside the room. Their movements are signalled by three loud thumps on the bathroom floor above him, and Don proceeds with the safe while aware that his chance to escape depends on timing.
Opening the safe does not resolve the danger. The telephone begins ringing while Don is looking at the switch, and he cannot think clearly; the ringing occupies his attention at the moment when the safe’s contents demand a decision. The scene makes the device’s operation simple in mechanical terms but perilous in consequence. The sequence of numbers can be recalled and the handle lowered, yet finding the switch does not, by itself, determine whether Don should open the room.
Resealing and Significance
When French falls, Don closes the safe, raises the handle, and turns the dial until the lock clicks into place. He pulls the handle once to check that it is secure before turning toward the hall. This is the safe’s final established action in the episode: after exposing the switch, Don restores the concealment rather than leaving the mechanism available. The account does not establish here that he throws the switch, so the distinction between finding the control and activating it remains important.
The safe concentrates several strands of the scene in a single object. It carries Jack’s confession in its combination, hides the means of opening the panic room, and gives Don a concrete task while French and Zlenko threaten him. Its steel, numbered dial, and red switch convert secrets into a sequence of physical actions, but the decisive choice remains Don’s. By locking it again, he preserves the barrier at a moment when the men around him have been trying to get beyond it.